
The Right Way to Pack a Cooler for Camping
Camping is different from other vacations. When you fly to Vegas, you think about what you’ll wear to meet the Blue Man Group or hit the strip, but you don’t think much about food until you get there. When you go camping, it’s the opposite. You don’t think as much about fashion, but you spend plenty of time thinking about the meals you’ll consume on your sleepover with Mother Nature.

What Happens When Your Cooler Isn’t Packed Well
If you don’t think it matters how your cooler is packed, think again. Knowing the best way to pack a cooler will prevent the following trip-ruining events.
Salmonella
When raw meat juices leak into the ice melt in your cooler, the apple floating in the cooler is now contaminated. And that fish you caught this morning won’t taste fresh if it doesn’t stay cold until dinner time. Either pack your cooler properly or pack extra toilet paper.
Soggy Food
Eventually the ice in coolers returns to a liquid state. When it does, the water threatens to make things soggy. Let’s face it. Aunt Ruth’s potato salad recipe is no match ice water infiltration.
Smashed or Otherwise Damaged Food Items
The eggs may fit nicely in the bottom of the cooler, but they won’t survive the bumpy ride to your campsite. Some produce will get freezer burn if it sits against an ice cube for very long. Pack your cooler in such a way that you save food and money by not having to throw damaged goods away… by never allowing it to get damaged in the first place.
Cooler Packing Tips
Okay. Now that you’re convinced the way you pack your cooler matters. Here are the cooler packing tips you need to know before your next camping adventure.
Prepping the Cooler
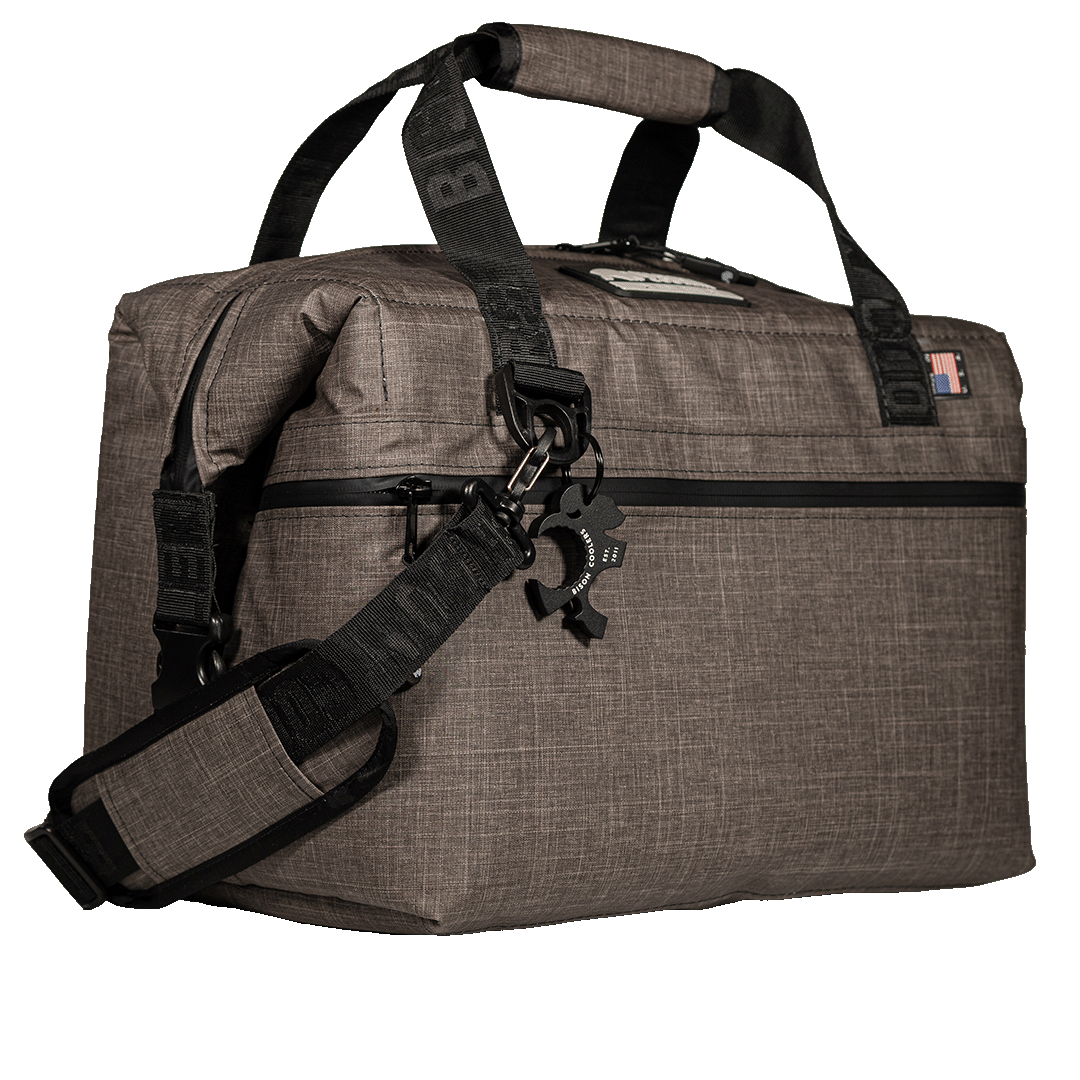
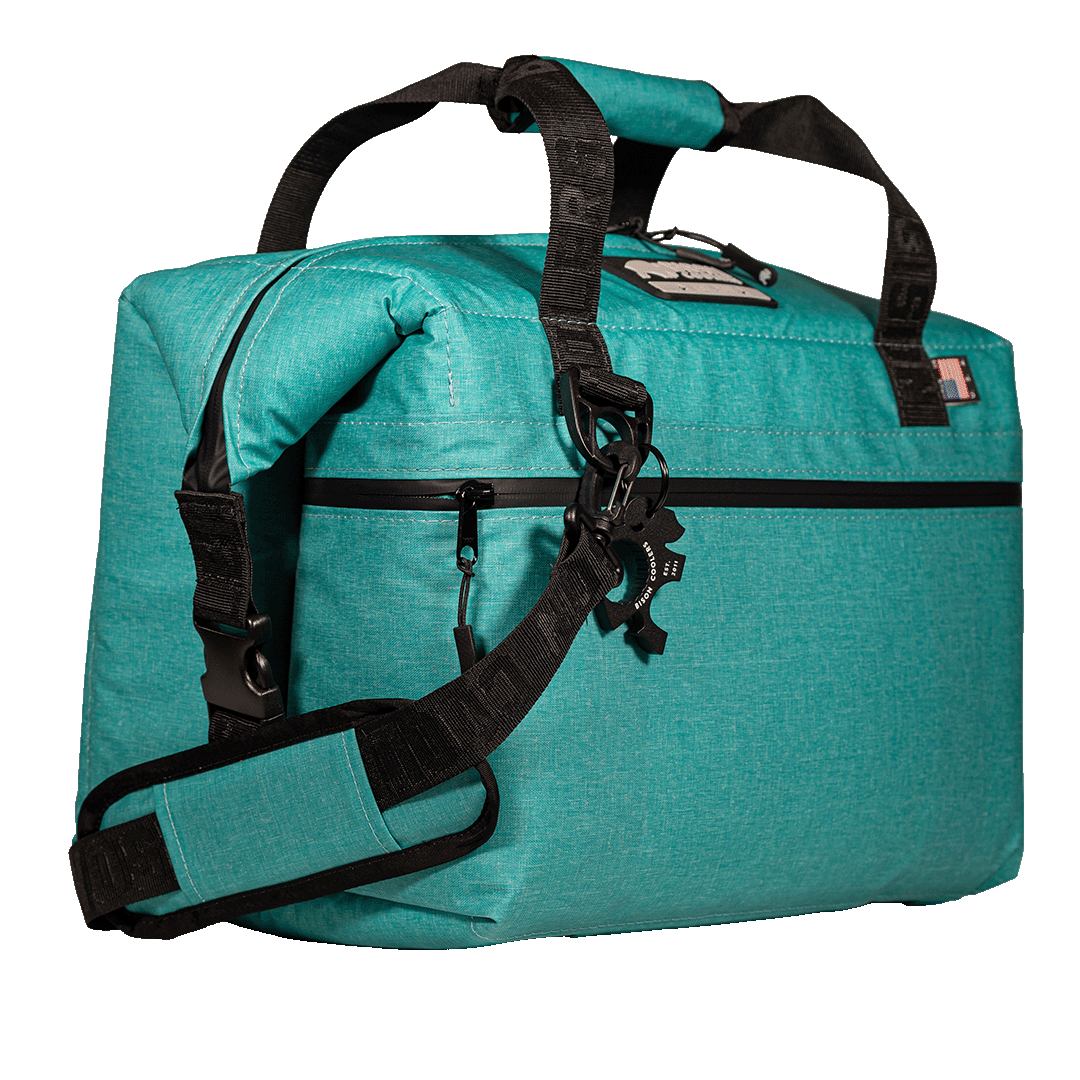
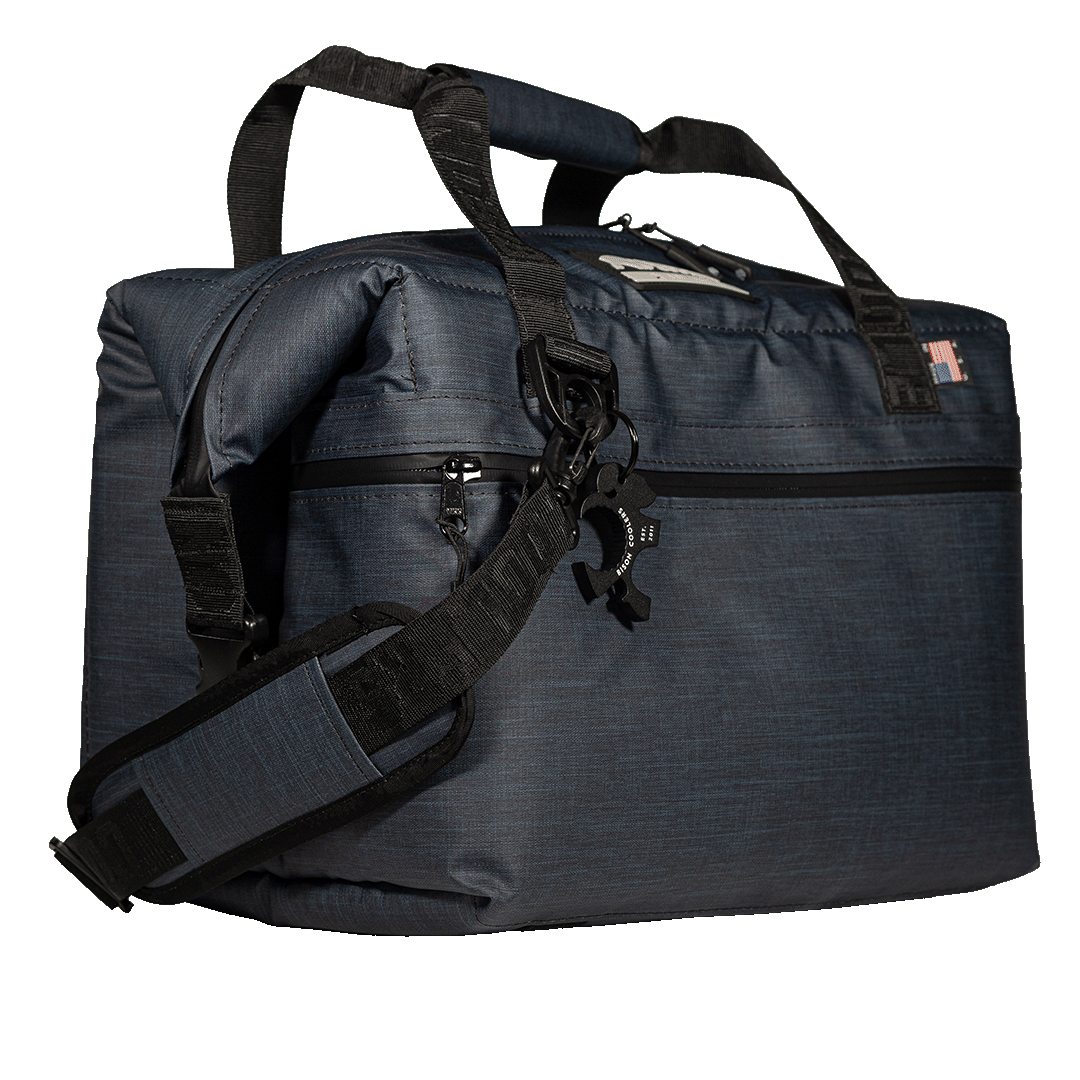
It starts with the type of cooler you use. For best results, use a rotomolded cooler. Rotomolding is the process used to manufacture high-end coolers. It allows for thicker insulated walls so the cold stays in and the hot stays out. Additionally, the corners and edges are significantly thicker than an injection molded cooler which allows it to hold for years of abuse.
With a rotomolded Bison cooler in your possession, you can adequately prepare the cooler for your trip. Start by cleaning the inside of the cooler thoroughly to get rid of any bacteria residue from the last time you used it. Warm soapy water should do the trick.
You know how you have to preheat the oven for baking? Well, it’s also a good idea to pre-chill your cooler for packing. Because coolers are insulated, they retain whatever temperature exists within their borders. When you pull the cooler down from your attic in the summer, it’s going to be hot. Put it in an air conditioned location 24 hours before you pack it, or use a sacrificial bag of ice to cool down the inside. (If you use the sacrificial bag of ice, let it cool the interior and then dump it out to put fresh ice in.)
Prepping the Contents
Prepare your contents, too.
What does that mean?
Well, it starts with cooling the contents that will go inside the cooler. The canned drinks you bought for the trip should be refrigerated before you pack them in the cooler. This keeps your ice from melting as quickly. (We’ll talk more about that shortly.)
If you know you won’t be using the contents immediately, you might consider freezing them and allowing them to thaw in the cooler.
In addition to cooling the contents, it’s a good idea to chop food ahead of time: watermelon, vegetables for foil packet meals, meat for kabobs, etc. It takes up less space in the cooler, produces less waste at the campsite, and makes meal preparation on your trip less time consuming.
That leads us to the topic of packaging. Want to prevent eggs from cracking en route? Crack them into a Ziploc bag before you pack them. You eliminate the carton and the shells, they’re less vulnerable to leaking into the ice melt, and you’re one step ahead at breakfast time. Pro tip: scramble them and add diced veggies for a ready to cook omelette.
Other packaging you can eliminate might be the cardboard box holding the beers or guacamole, the plastic container filled with lunch meat (transfer the meat to a Ziploc bag), and half-empty mustard containers (put it in a smaller container). All of these measures conserve space inside the cooler.
Prepping the Containers
With so much packaging out of the picture, we need to discuss the containers you will use to transport food items and keep them separated. Here are the two things to remember about the food containers you put in a cooler:
- Don’t pack air if you can help it.
- Test lids to ensure they are leak-proof.
The air in containers that aren’t filled to the brim takes up space. Sealed Ziploc bags work for most food items. It’s the next best thing to vacuum-packing. When sealed properly, Ziplocs also protect contents from ice melt leaks that could potentially contaminate food or make it soggy.
If you insist on using containers instead of Ziplocs, make sure they seal completely. A container full of brownies might get turned upside down or find itself floating in ice water. Without a properly sealed container, the brownies are susceptible to getting soggy, and soggy brownies are just sad.
Packing the Cooler
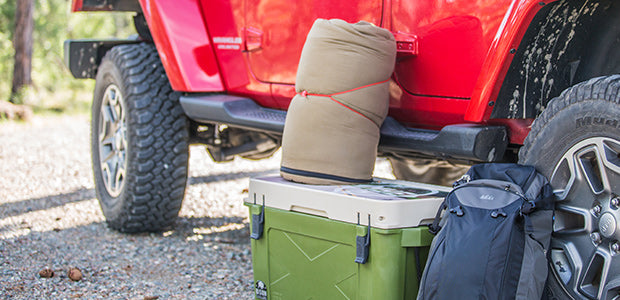
Pack everything else for your trip before you pack the cooler. Put the tents, backpacks, and sleeping bags in the car before you load the cooler so it’s not exposed to the elements any longer than it has to be.
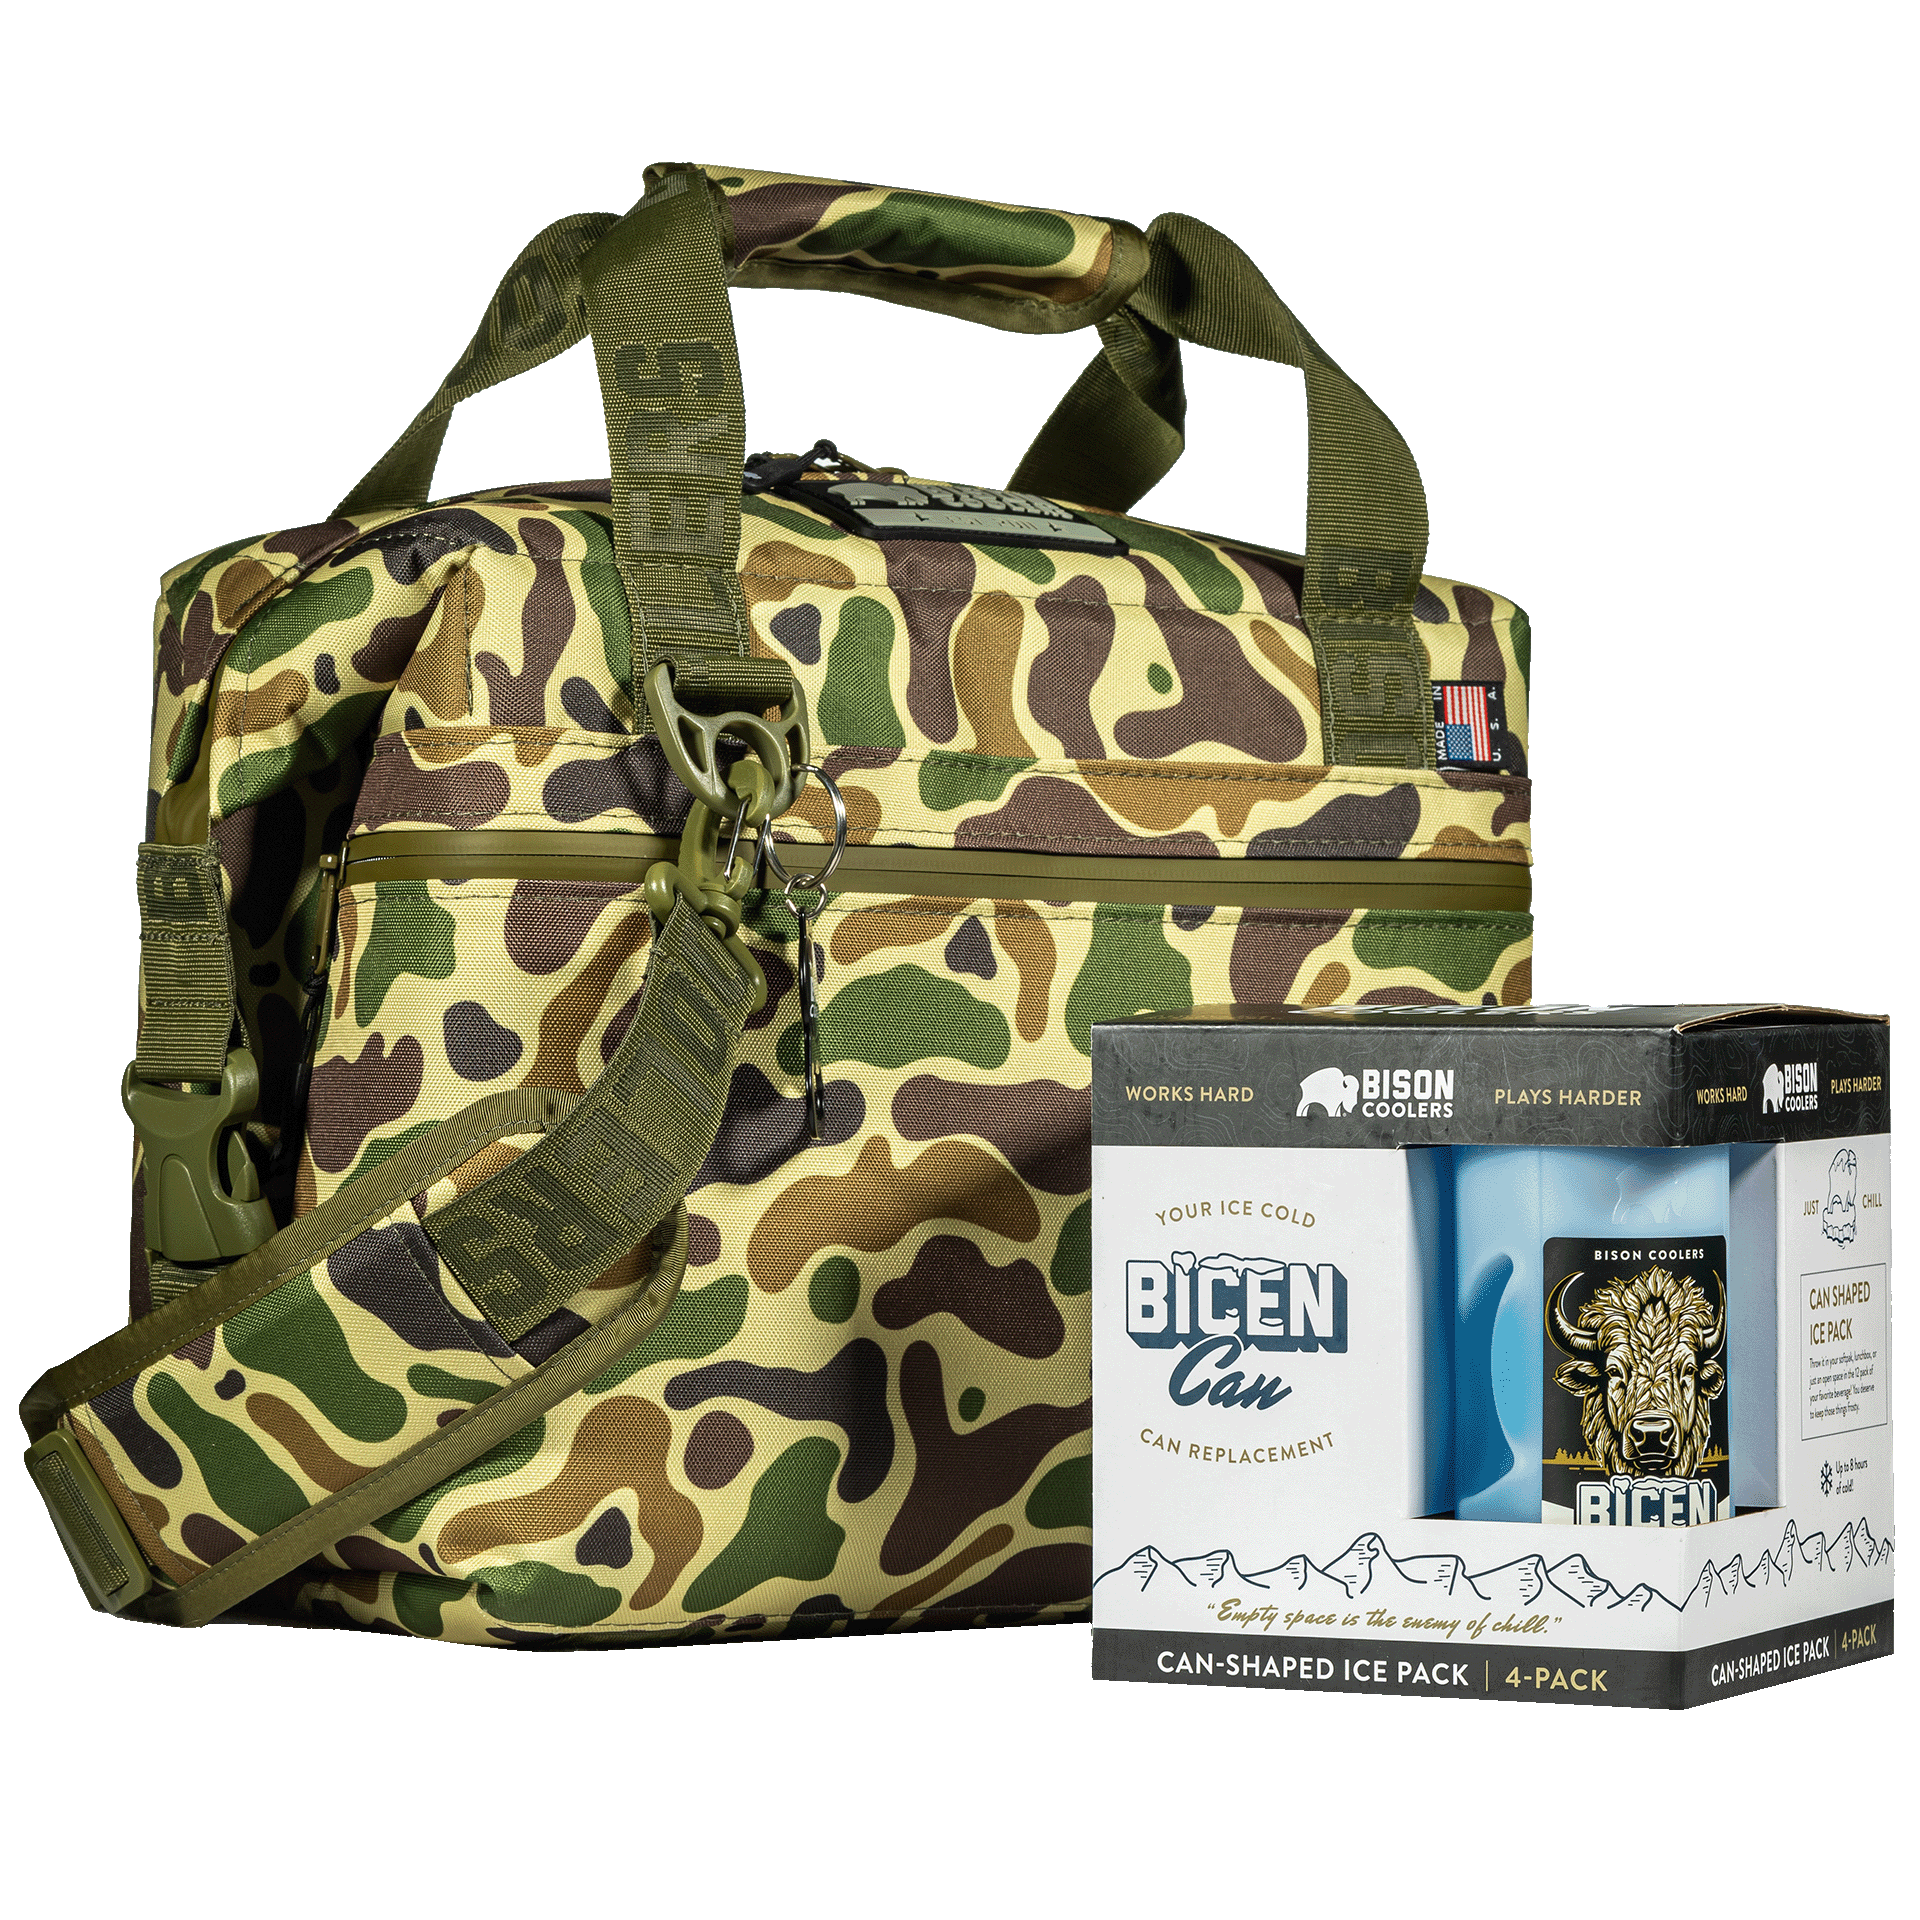
When you pack your cooler, start with a layer of ice at the bottom. Chillin’ Brew Ice Packs are ideal because they keep cold longer than traditional ice. Plus, they’re reusable. Ice blocks are also great as they stay in solid form substantially longer than cubed ice.
On top of the first layer of ice, place the items that need to stay the coldest: meat, eggs, dairy, etc. Sandwich those items by adding another layer of ice before you pack lunchmeat and produce. Continue alternating layers of food and layers of ice until everything is in the cooler.
The Arguments for a Two-Cooler System
There are those who say it’s best to take two coolers on your camping excursion: one for food and one for drinks. Here are the reasons why:
- Drinks take up a lot of space.
- Opening and closing the cooler repeatedly to get beers or bottles of water allows cold air to escape and compromises the temperature inside the cooler.
- If raw meat juices or cracked eggs accidentally seep into the cooler water, do you really want to drink from the soda can that’s been floating in contaminated water?
With properly packed coolers, your food will stay fresh and you can focus on the joys of living off the grid for a while.